SCD2 Monkey
Coming Soon! Sorry, but this article isn’t quite ready yet. We promise that we’re working on it! In the mean time – until we get
We heard from some of our European friends that they are not fans of the North American week numbering systems. While Power Query has a “week number” function, it does not contain any functions to get ISO weeks.
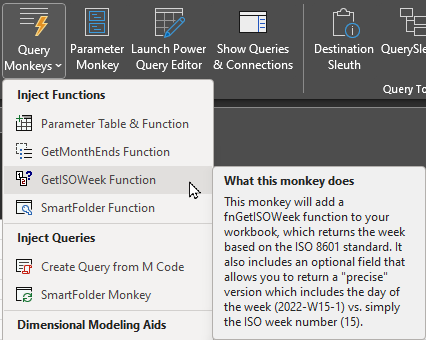
Our answer to this was to add an easy-to-use Monkey who will inject a GetISOWeek function into your solution.
In this article we will look at how to add the function to your workbook, as well as how to use it.
This function allows you to pass in two data points: a date, and an optional “precise” choice. The return is a proper week number based on the ISO 8601 standard.
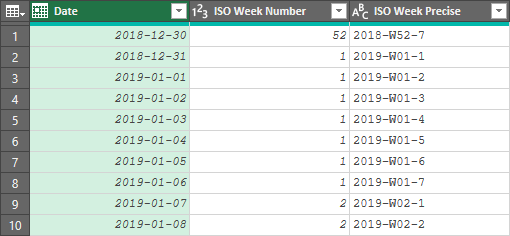
As you’d expect, the function will return a numeric week number by default. But should you elect to choose the optional “precise” format, you’ll receive the week number in the following format:
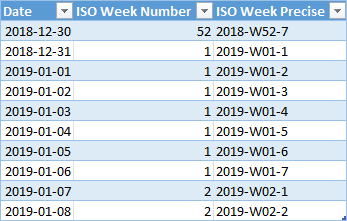
<ISO Year> -W <Week of ISO Year> - <Day of ISO Week>
This is the super easy part. Just go to:
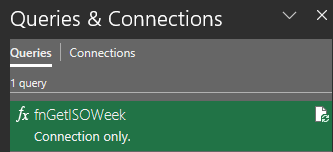
A new query called fnGetISOWeek will be injected directly into your workbook and show up in the Queries & Connections pane, ready for your use.
Once you’ve added the fnGetISOWeek function, using it is fairly easy. All you need is a table which includes a column of data with a Date data type. At that point, you can:
You’ll then need to configure the function to return the date format you’d prefer.
Expand the section below to see steps on how to…
The steps do get a week number are as follows:
The new column will be created, and you should change the data type to Whole Number.
The steps do to this are similar to generating the week number, but involve also typing true in the final text box:
The new column will be created, and you should change the data type to Text.
The results of adding both formats (and setting the data types appropriately) are shown here:

Coming Soon! Sorry, but this article isn’t quite ready yet. We promise that we’re working on it! In the mean time – until we get
Coming Soon! Sorry, but this article isn’t quite ready yet. We promise that we’re working on it! In the mean time – until we get
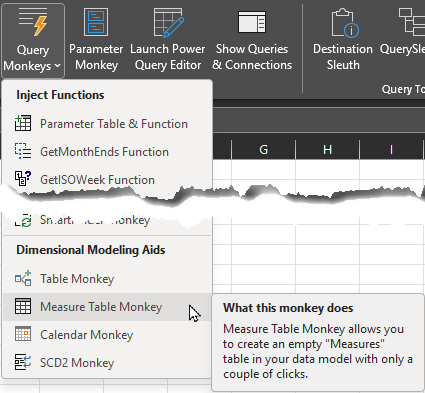
Article Overview Many modelers like to store their measures on a single “Measures” table in the data model. If you’re one of them, you may
Coming Soon! Sorry, but this article isn’t quite ready yet. We promise that we’re working on it! In the mean time – until we get

Article Overview One of our favourite tricks is to create a “From Folder” solution which avoids hard-coding a file path, instead pulling it dynamically via