Letify Monkey

Article Overview

More and more, we’ve been taking advantage of the LET() function when writing our Excel formulas. We find that it makes the formulas easier to read, faster to calculate, and much easier to debug because you can control the final step and control an intermediate calculation very easily.

However, it can be tricky and time-consuming to figure out how to incorporate LET into an existing formula. That is why we built the Letify Monkey!

Opening the Letify Monkey

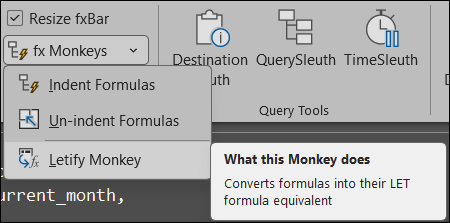
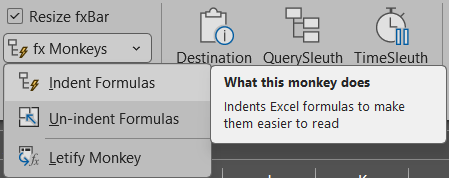
To quickly convert your formula(s), select the desired workbook cell(s) and go up to the Formula Monkeys area of the Monkey Tools tab. Click on fxMonkeys > Letify Monkey and the dialog will open.

The top of the dialog displays the original formula, and the bottom of the dialog displays the LET version created by the monkey.

Defining Variable Names

The Define Variable Name area of the Leftify Monkey dialog displays a listing of the auto-generated variables used in the LET-ified version of the formula. You can set it so that a pre-defined preface is added to the beginning of all variable names by checking the Auto Name With Preface box and entering the desired preface.

Once the variable preface is entered, the auto-generated variable names on the listing above will be automatically updated to include it. Note that the preface settings are saved between instances of Excel, so when you open a different workbook the same preface will be used.

You can manually rename a variable by clicking on the existing name in the listing and typing in the desired name and pressing Tab. The variable name will be updated in the LET-ified formula at the bottom of the dialog.

Additional Variable Options

The Letify Monkey dialog includes some other helpful features for configuring the variables:

  1. Reference Column: this column in the variable listing displays the cell(s) in which the variable is referenced. And on the underlying worksheet, you will see the cell(s) highlighted in blue. This makes it easier to decide on names for your variables.
  2. Uses Column: this column in the variable listing displays the number of times this variable is used in the LET-ified formula.
  3. Move Up/Down Buttons: clicking these buttons moves the selected variable on the name listing above, allowing you to set the listing order.
  4.  References Button: clicking this button at the top right corner of the dialog will highlight the original variable on the name listing. The corresponding cell is also highlighted in yellow on the underlying worksheet. This button is particularly handy if you have clicked on an off-sheet reference and want to get back to the original cell on the original worksheet.
  5. Identical Button: clicking this button highlights the cells containing the same formula in orange on the underlying worksheet.
  6. Next Button: if you selected multiple cells with different formulas, a Next button will be visible at the bottom of the dialog. Clicking it will cycle you through the different formulas so you can configure each one.
  7. Name Final Step Checkbox: this setting allows you to always use a predefined name for adding final step in the LET-ified formula. Doing this is a best practice, and can be handy for quickly finding the final step during testing and debugging. Unchecking the box will remove this step and go directly into the final part of the formula.

If you have additional formulas you would like to LET-ify, you don’t have to close the dialog. You can simply highlight the desired cell(s) on the underlying worksheet and the dialog will reset so you can name and configured the variables.

Once you are happy with the variable names and configuration, click the Apply button at the bottom of the dialog, and you will see the new formula appears in the worksheet’s formula bar. Click the Close button to close the dialog and return to the worksheet.

Share:

Facebook
Twitter
LinkedIn

Related Posts

Formula Bar Monkey

Article Overview When writing formulas in Excel, users often create a lot of indented formulas. One of the things that kind of drives us nuts


Indent Formula Monkey

Article Overview When building Excel solutions, one of the things we really like to do is indent our formulas. It makes them more readable and

Excel Feature Improvements

Article Overview Monkey Tools offers several Excel feature improvements to build a better user experience. While the vast majority of these features are custom-built to

Connection Monkey

Article Overview The Connection Monkey is your one stop shop in order to connect to the various Excel workbooks or Power BI models that Monkey
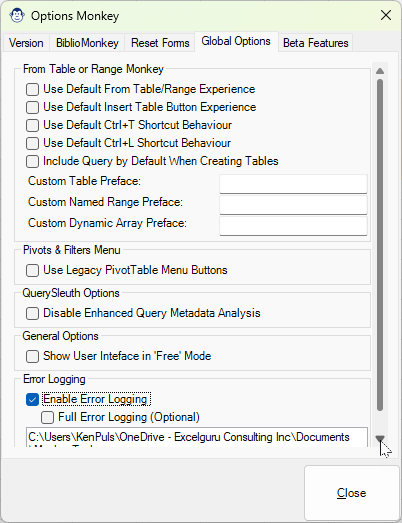
Global Options controlled by the Options Monkey include legacy PivotTable buttons, show the user interface in Free mode, Disable Enhanced Query Metadata Analysis and Error Logging

Options Monkey

Article Overview What is an application with Options? Monkey Tools is no difference, and we have a specific Options Monkey to help you control them